What to Do When Your Roof Starts Leaking: A Step-by-Step Guide for Homeowners
A leaking roof is one of the most stressful problems a homeowner can face. Whether it’s a small drip after heavy rain or a sudden leak during a storm, acting quickly can prevent serious damage and costly repairs
- Step 1: Stay Calm and Protect the Interior
- Step 2: Try to Identify the Source (From Inside)
- Step 3: Apply a Temporary Fix (If Safe)
- Step 4: Document the Damage
- Step 5: Contact a Professional Roofing Contractor
- Step 6: Contact Your Insurance Company (If Applicable)
- Step 7: Schedule Permanent Repairs or Replacement
- Common Causes of Roof Leaks
- When Is a Roof Leak an Emergency?
- Final Thoughts
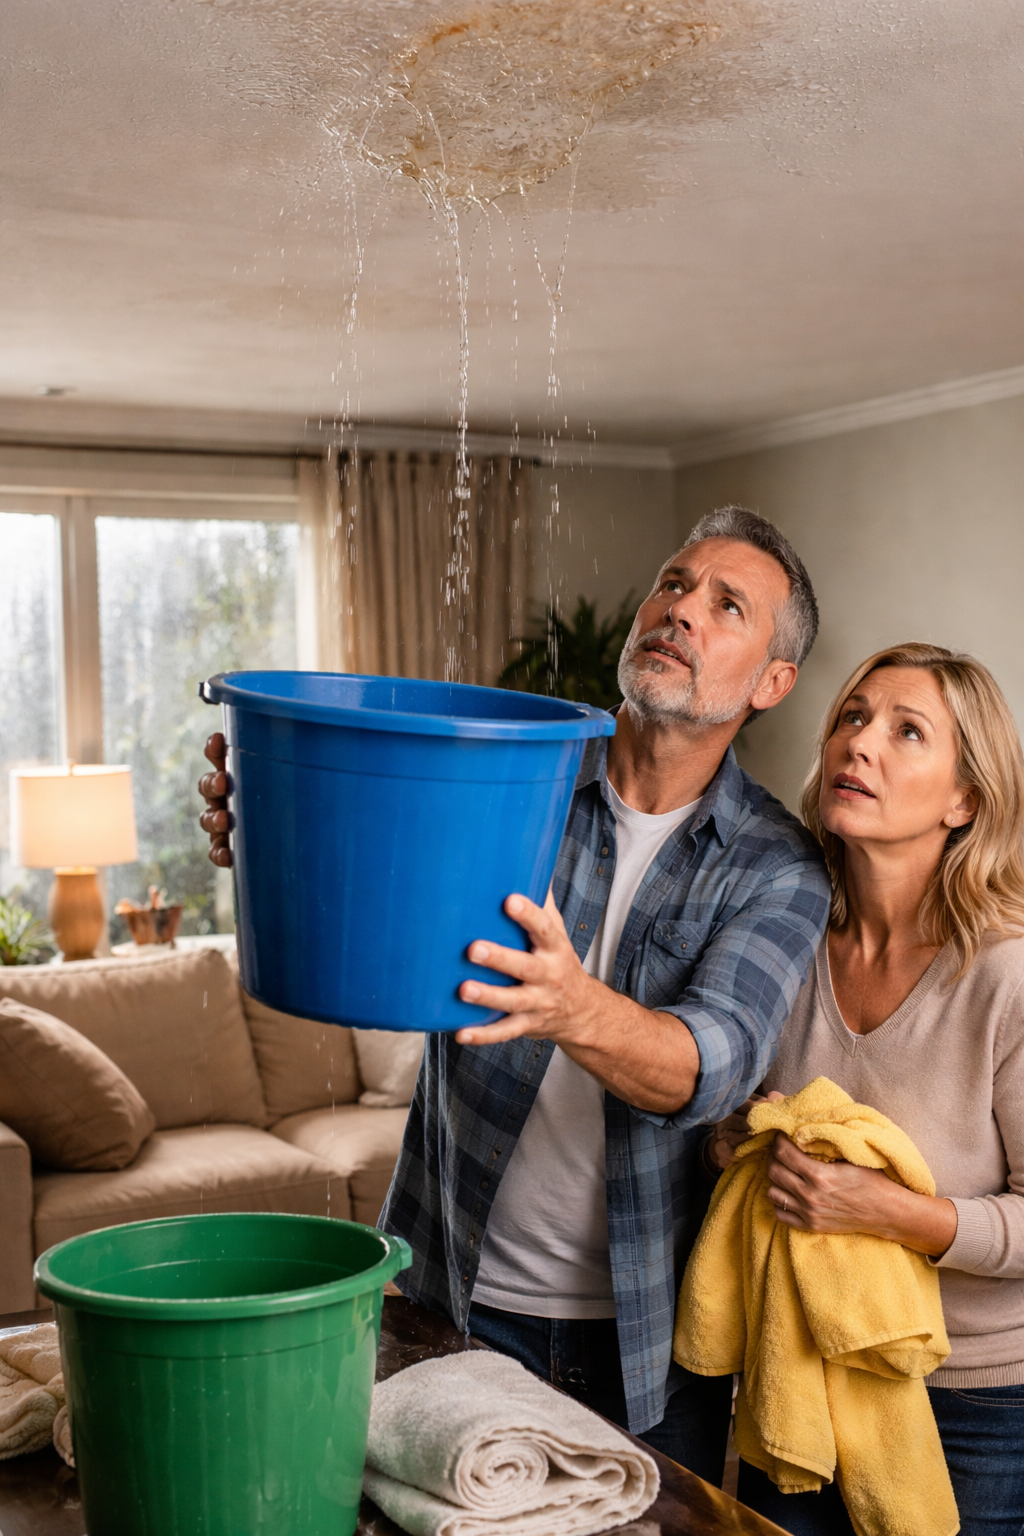
Step 1: Stay Calm and Protect the Interior
The first priority is preventing water damage inside your home.
What to do immediately:
-
Place buckets, containers, or towels under the leak
-
Move furniture, electronics, and valuables away from the affected area
-
If water is near electrical outlets or fixtures, turn off electricity in that area
Do not ignore even small leaks — they often mean a bigger problem above.
Step 2: Try to Identify the Source (From Inside)
You don’t need to climb on the roof yet — and in many cases, you shouldn’t.
Check from inside:
-
Look for water stains on ceilings or walls
-
Inspect your attic (if accessible) for wet insulation, wood, or visible drips
-
Note whether the leak appears during heavy rain, snow melt, or all the time
This information will be helpful for the roofing professional later.
Step 3: Apply a Temporary Fix (If Safe)
Temporary solutions do not replace professional repairs, but they can reduce damage until help arrives.
Safe temporary actions:
-
Cover the leaking area on the roof with a tarp (only if weather and safety allow)
-
Use roofing tape or sealant only as a short-term measure
-
Clear debris from gutters if water is backing up
Do not climb on the roof during rain, snow, or strong winds. Safety comes first.
Step 4: Document the Damage
Before repairs begin, take photos and videos.
Document:
-
Interior water damage
-
Ceiling stains, dripping water, or mold
-
Exterior roof damage (if visible from the ground)
This is critical if you plan to file a homeowners insurance claim.
Step 5: Contact a Professional Roofing Contractor
This is where many homeowners lose time — and money — by waiting too long.
Look for a roofer who:
-
Is licensed and insured in your state
-
Has experience with emergency roof repairs
-
Offers inspections and written estimates
-
Can work with insurance claims
Avoid “storm chasers” or contractors who:
-
Demand full payment upfront
-
Refuse to provide documentation
-
Pressure you into immediate replacement without inspection
Step 6: Contact Your Insurance Company (If Applicable)
If the leak was caused by:
-
Storm damage
-
Wind
-
Hail
-
Fallen debris
…it may be covered by your homeowners insurance.
Tips:
-
File the claim as soon as possible
-
Share photos, videos, and contractor reports
-
Do not authorize major repairs before insurer approval (unless it’s an emergency)
Step 7: Schedule Permanent Repairs or Replacement
After inspection, your roofer will recommend:
-
Minor repair (flashing, shingles, sealant)
-
Partial repair
-
Full roof replacement
A professional will explain:
-
The cause of the leak
-
Repair options
-
Cost and timeline
-
Warranty coverage
Common Causes of Roof Leaks
Understanding the cause helps prevent future issues:
-
Damaged or missing shingles
-
Worn-out flashing around chimneys or vents
-
Clogged gutters
-
Ice dams (common in northern states)
-
Aging roofing materials
When Is a Roof Leak an Emergency?
Call for emergency roofing service if:
-
Water is actively pouring inside
-
The ceiling is sagging
-
Electrical systems are at risk
-
Structural damage is suspected
Final Thoughts
A leaking roof is never convenient, but fast, informed action can save thousands of dollars in repairs. Temporary fixes help, but professional inspection and repair are the only long-term solution.
If you suspect roof damage — don’t wait. The longer a leak continues, the worse (and more expensive) the problem becomes.